
Camera Obscura

I decided to make a camera obscura using a cereal box. I began by gathering the supplies:


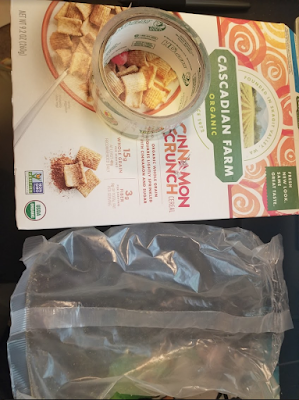
Cereal box, bag, scissors, tape, and a thumbtack.

Then I cut a square in the box:


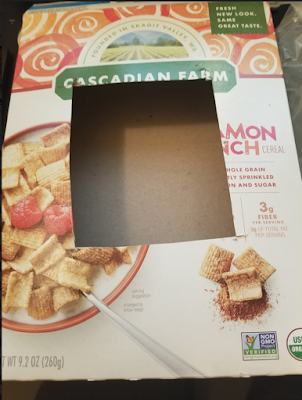
Then I cut the bag and taped it over the hole:


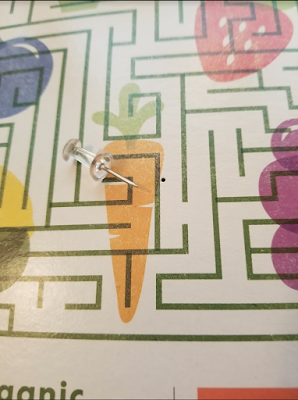
Lastly, I used the thumbtack to poke a hole in the opposite side of the cereal box.


Then it was time to hold it up to a light source. I used a lamp that hangs above my desk. Although it's somewhat dark and not the easiest to see in a picture, there is an inverted reflection of the lamp:


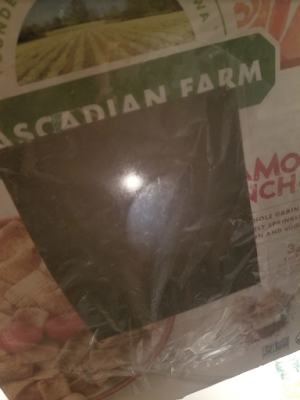
(You can see the large circular rim and the cord coming out of the bottom rather than the top)

Overall, I thought it was an interesting project to do and would like to see what a large-scale camera obscura looks like too.

Comments

Post a Comment

Popular posts from this blog

Dreamweaver canvas exercises

For these assignments, I was more concerned with experimenting and understanding the syntax and features in Dreamweaver than creating a complete image. My goal was to simply create rectangles and triangles of different sizes. I experimented with writing code and changing variables like the x and y coordinates of each point, the hexadecimal code for each color, and the line width. Ultimately, I learned how to manipulate these to fit the specifications of the assignment and to know what to do for the next assignment. 

Collage

The goal of this project was to create a collage in Photoshop using at least 15 images of living things. I cut out each image from its background, doing my best to make sure the outline was not too harsh or too blurry. Then, I arranged the images. I had to make sure they overlapped each other perfectly with no white space in the background while also attempting to make sure colors were spread out across the image in a pleasing way- for example, having green in opposite corners and surrounding a dark object like the tapir with lighter objects like the frog and flowers. My overall theme was rainforest/jungle creatures, making the panda a bit of an outlier, but too adorable to resist.

Calligram

The goal of this project was to recreate a photo of myself using words to fill in the space. I began by drawing tentative lines over the photo representing the sizes and shaped I wanted to use. Then, I typed a few words at a time and then manipulated each letter individually to fit better and leave less holes in the image. I constantly zoomed in and out to make sure I was making the letters an appropriate size. This process was very time consuming, especially the lips and eyes. While I am satisfied with the face and shirt, I feel like with more time I could have paid more attention to the hair and made it look less flat. I chose the background color based on the background color of the original photo because I felt like it fit well.